- Joined
- Jul 1, 2016
- Messages
- 6,574
- Reaction score
- 2,585
So, I've seen a few posts regarding this, and I had time to have a play and test.
There will be other ways to achieve this, but this is the one most user-friendly to me and probably a lot of others.
I ACCEPT NO RESPONSIBILITY TO ANYONE WHO BREAKS THEIR 3CX - BACK UP YOUR 3CX BEFORE ATTEMPTING.
You will need to download the GParted ISO https://gparted.org/
BEFORE
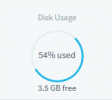
1. Increase your VHD in Hyperv.
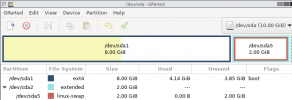
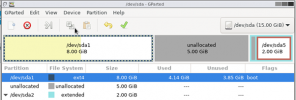
2. Boot to GParted and follow on-screen instructions until you get to the GParted app - It will look like this.
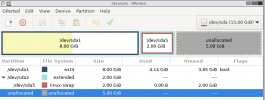
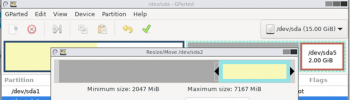
3. Click on the sda2 extended and hit the resize/move partition
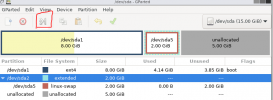
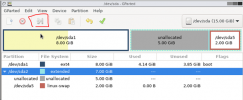
4. Drag to partition to the end and press resize/move
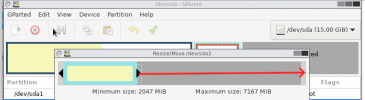
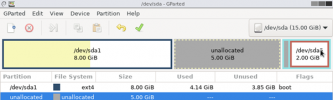
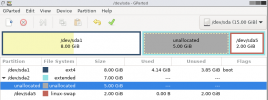
It will look like this
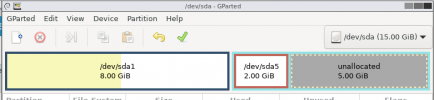
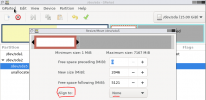
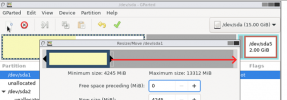
5. Select the swap file and press resize/move again.
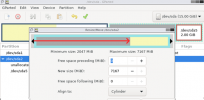
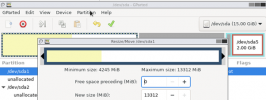
Once in, change "align to" to cylinder then select the white space to move the partition from left to right and press resize/move then OK the warning.
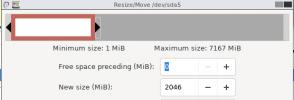
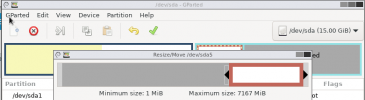
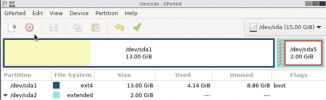
you should now have this
There will be other ways to achieve this, but this is the one most user-friendly to me and probably a lot of others.
I ACCEPT NO RESPONSIBILITY TO ANYONE WHO BREAKS THEIR 3CX - BACK UP YOUR 3CX BEFORE ATTEMPTING.
You will need to download the GParted ISO https://gparted.org/
BEFORE
1. Increase your VHD in Hyperv.
2. Boot to GParted and follow on-screen instructions until you get to the GParted app - It will look like this.
3. Click on the sda2 extended and hit the resize/move partition
4. Drag to partition to the end and press resize/move
It will look like this
5. Select the swap file and press resize/move again.
Once in, change "align to" to cylinder then select the white space to move the partition from left to right and press resize/move then OK the warning.
you should now have this