


To take advantage of the new backup and archiving options in v16 Update 4 Alpha, we'll give you a quick crash course in setting up sshd, the free and open-source OpenSSH daemon or server. SSH stands for “Secure SHell” and provides encrypted and secure communication between two untrusted hosts, over an insecure network, such as the Internet. SSH is automatically installed and available when you deploy cloud instances on Google Cloud Platform, Microsoft Azure and AWS.
For this install recipe we’ll need to mix these ingredients:
- 1 x server or PC running Debian Linux with sufficient disk space for backups & recordings
- 1 x OpenSSH server
- 1 x public IP managed via your router/firewall
- 1 x external port 22 forwarded to your internal SSH host's IP
Installing SSH on Debian Linux

You can install OpenSSH on Debian Linux 9 and later editions on a x86 PC / server, or even on Raspbian Buster on the tiny Raspberry Pi. Just open a command shell and follow these steps using your root account or sudo:
- To install the latest stable OpenSSH package:
- sudo apt update
- sudo apt install openssh-server
- Enable the ssh service to start on system boot:
- sudo systemctl enable ssh
- Now start the ssh service:
- sudo systemctl start ssh
- Verify that OpenSSH is up and running:
- sudo systemctl status ssh
- Log in locally or from another Linux machine, with your username and password:
- ssh user@server-name-or-ip
- Alternatively, you can login from a Windows machine using the PuTTY SSH utility:
- Enter the host name or IP address for your SSH server.
- Enter a name in "Saved Sessions" and click "Save" to save your session info.
- Click "Open" and enter your credentials to connect to your SSH server.
Opening Your SSH Server to the Internet
Ensure that your SSH server is Internet-accessible by opening port 22 on your router or firewall and forwarding it to your SSH server's internal IP. If your network is configured with a dynamic IP, you can make use of a Dynamic DNS (DDNS) service to keep your FQDN in sync with your changing IP. Make sure you restrict SSH access only to your IPs.
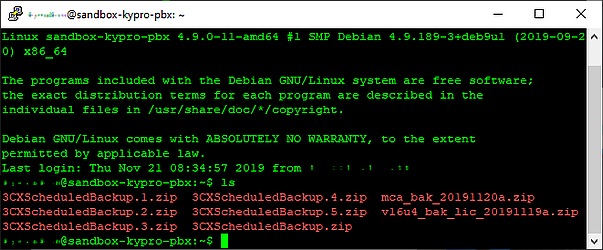
Once you configure your network to allow connections to your SSH server, you can verify connectivity from another Internet host, using your user credentials:
- ssh user@server-fqdn-or-public-ip
Setting Up Your SSH Keys
To enhance the security level for your SSH connections, you can opt to use SSH key-based authentication, instead of a user-password combination. You can create SSH keys for your user to enable password-less entry to your OpenSSH server, using our guide. Just make sure you have your public key on your SSH server and upload the private key to 3CX when configuring the backup and archiving location.
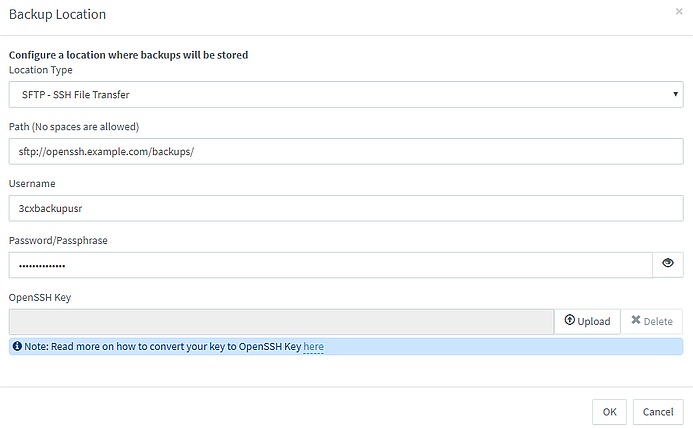
And that’s it! Now you can use your 3CX PBX to perform backups and archive recordings via SFTP on your own SSH server.









 Copyright © 2026