


Get your hands on a Raspberry Pi delivered with 3CX, ready to go. The new pre-assembled device makes it even easier to get started. Use the kit to quickly set up and run a full Raspberry Pi phone system or the 3CX SBC for hosted installations - you decide! Bundle into your customer offering to provide a no-fuss, comprehensive package.
Primed & Ready: The $99 PBX
The 3CX Raspberry Pi kit enables you to spend less time on small installations while offering customers a cost-effective PBX that cannot be beat on price, features or convenience. With plug and play access to 3CX, installed and pre-configured for use, each kit contains:
- A pre-assembled Raspberry Pi 4B 8GB in a swish cooling case + power supply.
- A 32GB SD card.
- Raspberry Pi OS with 3CX pre-installed - fully functional PBX for up to 24 sim. calls or up to 70 extensions.
- 1 year free 3CX Standard License.
Connect Hosted PBX with SBC on Raspberry Pi
The kit is also pre-installed with the 3CX SBC for a simple and fast way to get hosted customers up and running. What’s more, with future updates, you’ll be able to remotely deploy the pre-installed SBC device - just like the IP phones. Order your stock of pre-installed Pis to bundle with customers’ hosted PBXs, and save time by easily shipping out these tiny machines at barely any cost.
How to Purchase
3CX has partnered with two established suppliers to deliver and retail the Raspberry Pi kits worldwide.
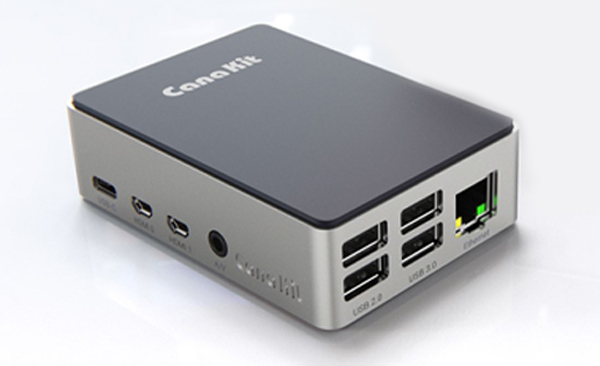
Canakit - US / Canada
Canakit are leading manufacturers of Raspberry Pi kits and the ideal suppliers for our customers in the US and Canada. To purchase, head over to the Canakit website.
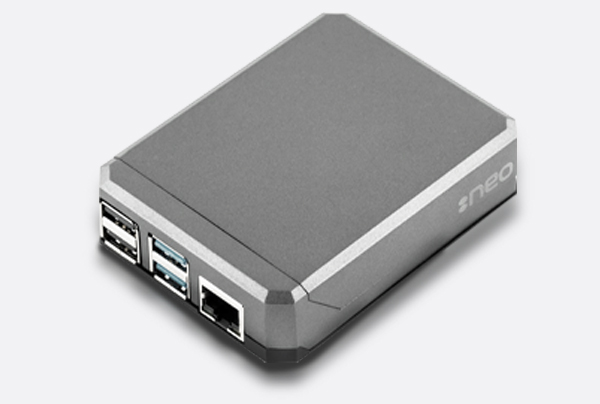
Pimoroni - Europe & Rest of the World
Pimoroni is one of the best known manufacturers in the UK, offering worldwide shipping with over 100 distributors across the globe. To get your Raspberry Pi kit for Europe or anywhere else, go to Pimoroni.
Looking to make a large or wholesale purchase? Sign up, and purchase from here.
Once the package is received, all that’s left is to configure 3CX with your Static IPs by following Step 4 in this guide. Then select to install “3CX” or “3CX SBC” depending on your desired purpose for the device.









 Copyright © 2026