



Hands-free automated VM provisioning for Proxmox VE.
We are excited to announce a faster, hands-free method for provisioning a 3CX PBX Virtual Machine on Proxmox VE. Our newly released documentation walks you through a fully automated deployment script designed to save you time and reduce configuration errors.
From Manual Clicks to Automated Provisioning
Deploying virtual machines manually can be a tedious process. Our new deployment script leverages Debian generic cloud images and Cloud-Init to handle the heavy lifting on your behalf. It automatically provisions your compute resources, establishes the network configuration via DHCP, and injects the required 3CX installation scripts.
Key advantages for your IT team include:
- Rapid Deployment: Skip the manual Proxmox UI setup and let the script deploy your virtual machine using a single, easily modified configuration file.
- Silent Restores: By providing a setupconfig.xml file alongside a 3CX backup archive, the script can execute a silent installation and restore process, eliminating the need to interact with the web wizard entirely.
- Customizable Resource Allocation: You retain full control over the compute power by defining your preferred disk size, CPU cores, sockets, and memory directly within your environment file.
How the Deployment Works
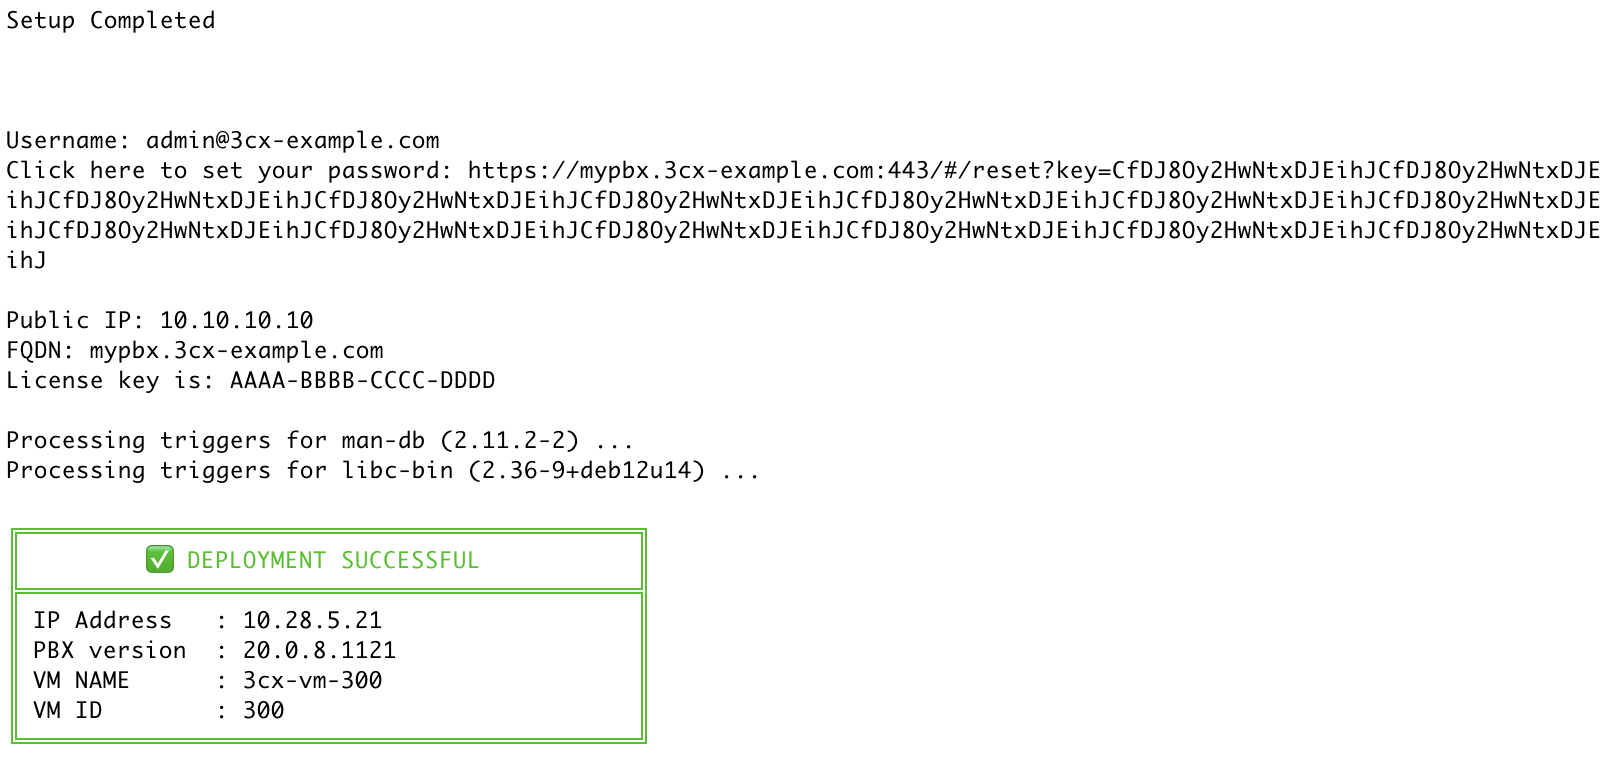
We have outlined the entire procedure in our guide, covering everything from the prerequisite Proxmox storage settings to the final automated handoff. The workflow boils down to a few core steps:
- Download the 3CX Proxmox deployment tools directly to your host's root directory.
- Set up your deployment folder and configure your .ENV file with parameters like your unique Proxmox VM ID and your reserved MAC address.
- Execute the create-3cx-vm.sh script.
- Monitor the live terminal feedback as the script downloads the image, builds the VM, and waits for the QEMU Guest Agent to report the new IP address.
Once completed, the script automatically cleans up your environment and executes the 3CX setup script remotely, displaying a success banner with your new VM's details.
Read the complete step-by-step instructions here: 3CX Automated Proxmox Deployment Guide.
Join the Discussion
Join the 3CX discussion in our dedicated Partner or Customer Forums. Follow us on X and LinkedIn to stay-up-to date on latest news and feature releases.









 Copyright © 2026